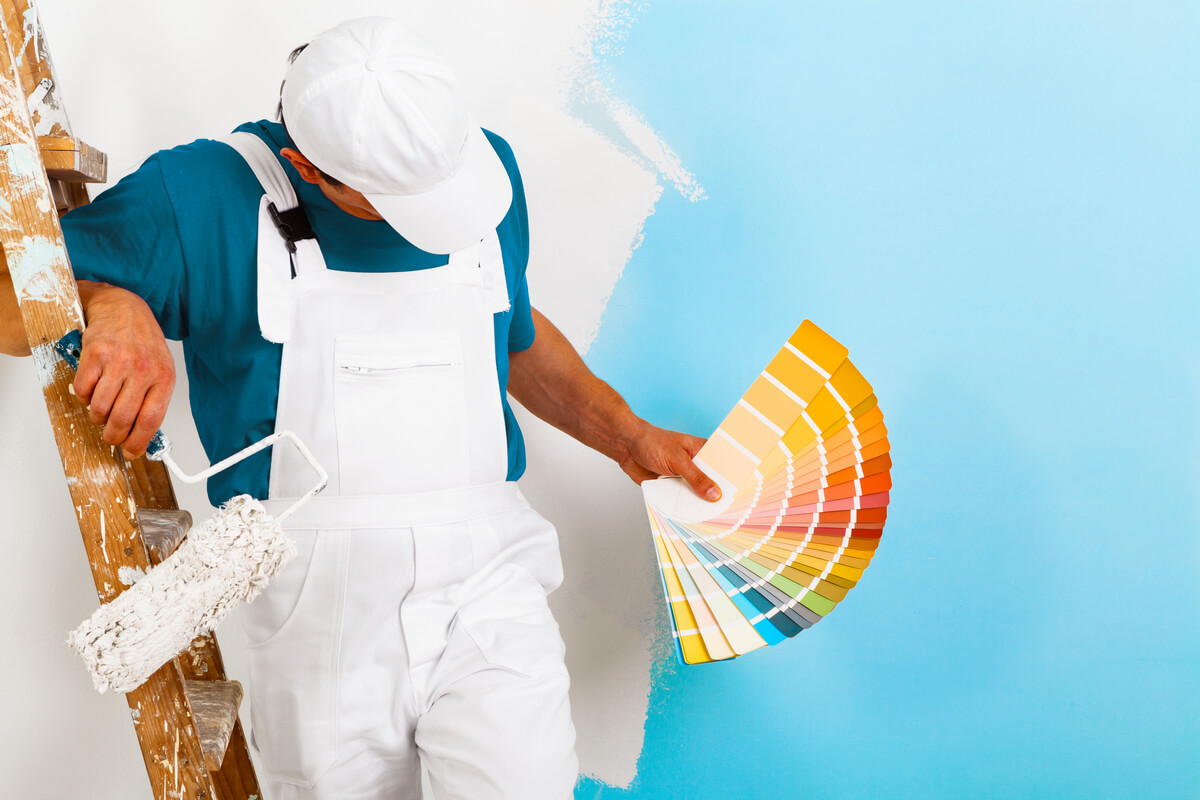
A fresh coat of paint can completely revitalize a room. Many homeowners paint before they put their house on the market because it’s a fairly easy and budget-friendly upgrade. While you could hire professional painters for the job, doing it yourself can save you a great deal of money. You should approach the project carefully, though, to avoid mistakes or imperfections.
The following are the key steps to painting your house like a professional:
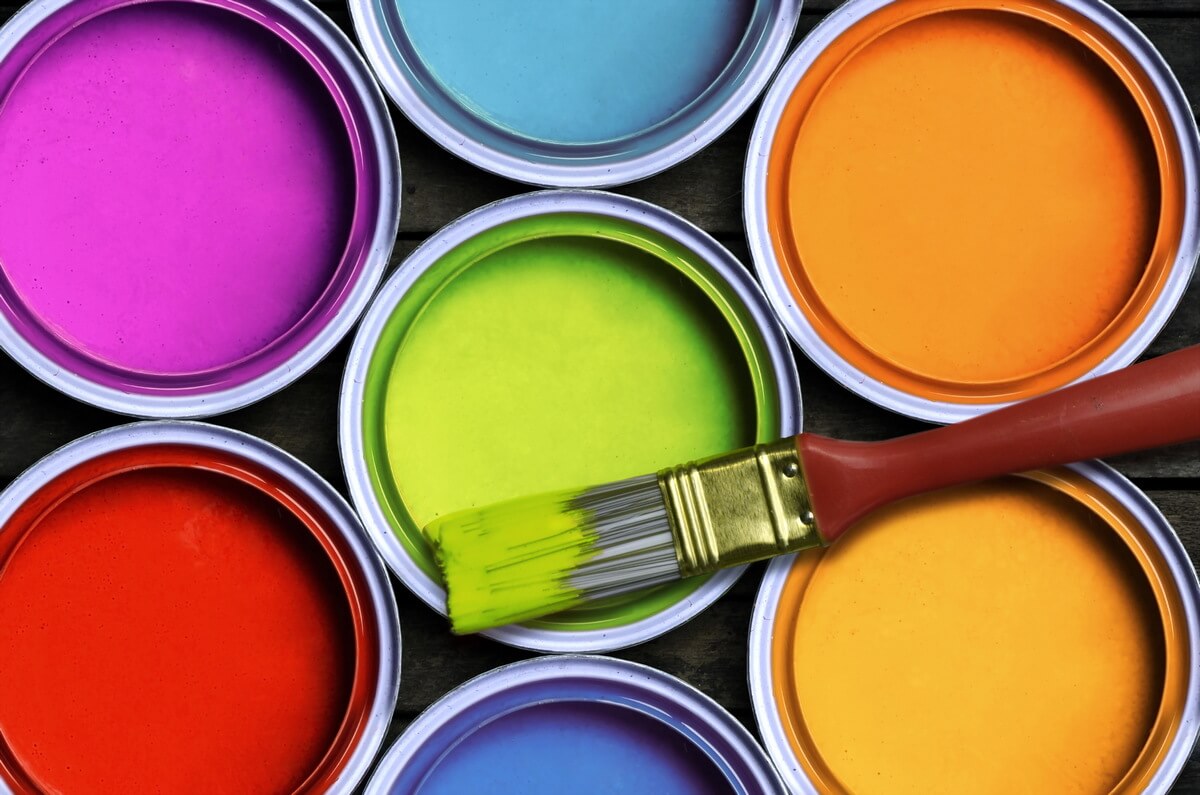
Buy Quality Materials
You don’t have to break the bank when buying paint supplies, but you should opt for high-quality materials. Make sure the paint you purchase is the right sheen for the environment. Flat paint provides the most coverage, so it’s a good option for walls that have chips, cracks, or imperfections. Glossy paint is highly durable and easy to clean, so it’s great for kitchen walls, cabinets, and door frames. However, it provides little to no coverage for flaws.
Purchasing high-quality paintbrushes is also essential. No matter how good the paint is, the project won’t have good results if you use a cheap brush. High-quality brushes and foam rollers distribute the paint more evenly.
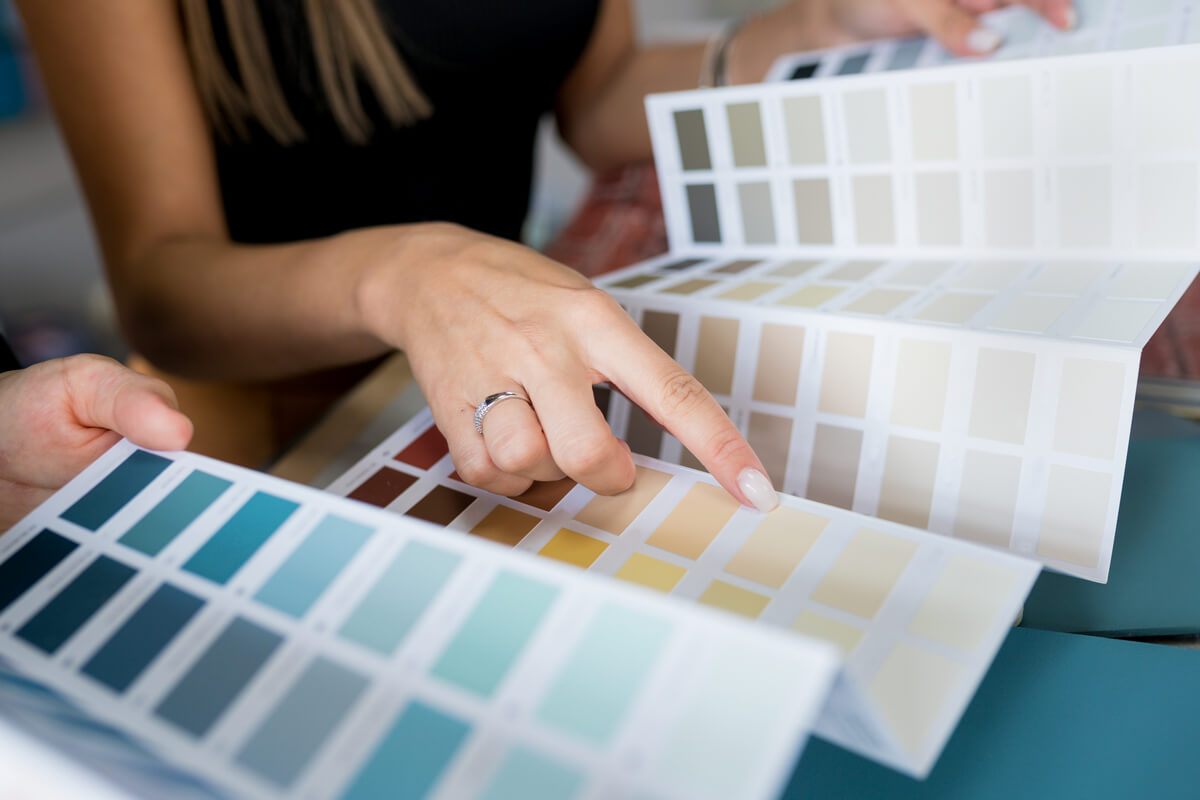
Start With a Sample
A shade can look much different on a small paint card than it does on your walls. To make sure you actually get the color you want, pick up a few sample-size paint cans and test each of them out in small patches on the wall. This way, you can ensure both the shade and the sheen are correct for the space before you commit to the paint job.

Check the Weather
The weather conditions are not quite as important for interior painting as for exterior painting, but they do make a difference. If it’s particularly wet or humid outside when you’re painting, the paint won’t dry efficiently. A dry and sunny day is the perfect time to paint.

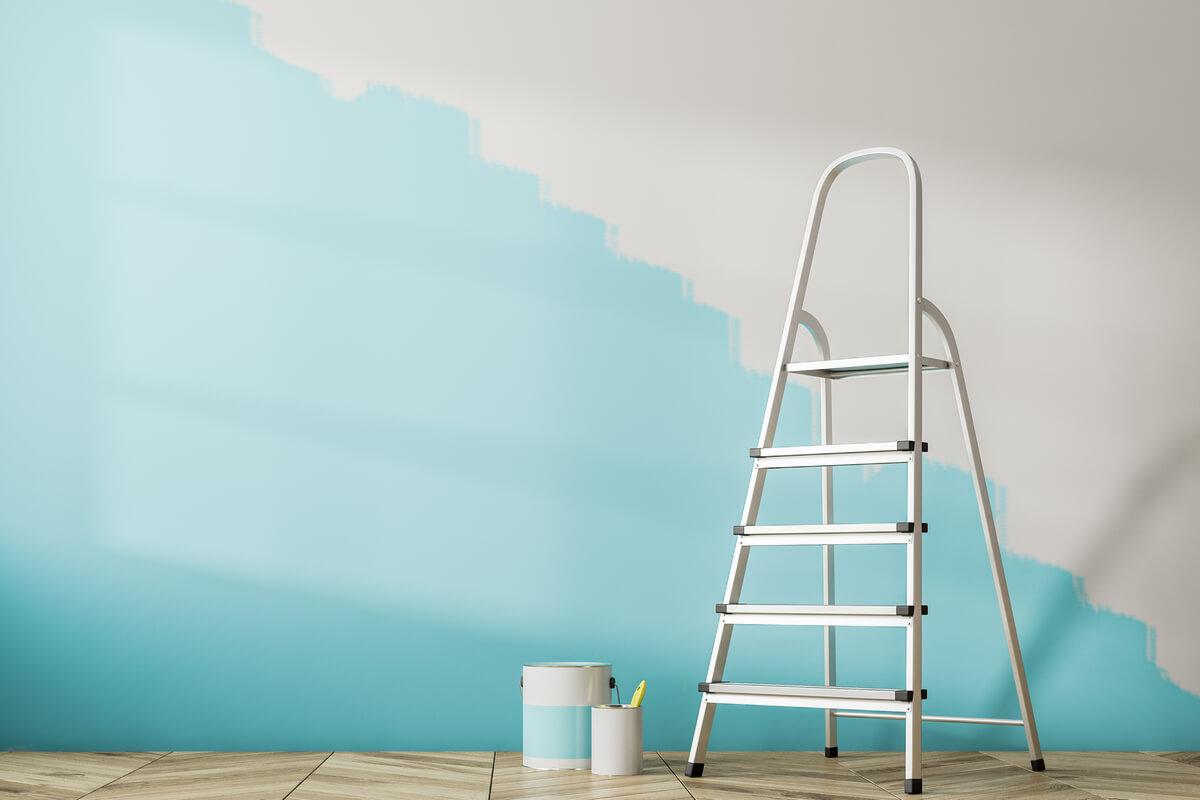
Protect the Room
You can never be too careful when prepping the room for a painting project. Cover everything in the room that you don’t want to paint, and make sure the covers are secure. If possible, move furniture out of the room entirely to eliminate the risk of paint splatters. If removing the furniture isn’t an option, use drop cloths to protect it.
One of the biggest mistakes homeowners make is only using drop cloths around the perimeter of the room. Paint can drip off of your paintbrush or your clothing as you walk around the room, though. For the best results, cover the entire floor with drop cloths and secure the coverings with tape.
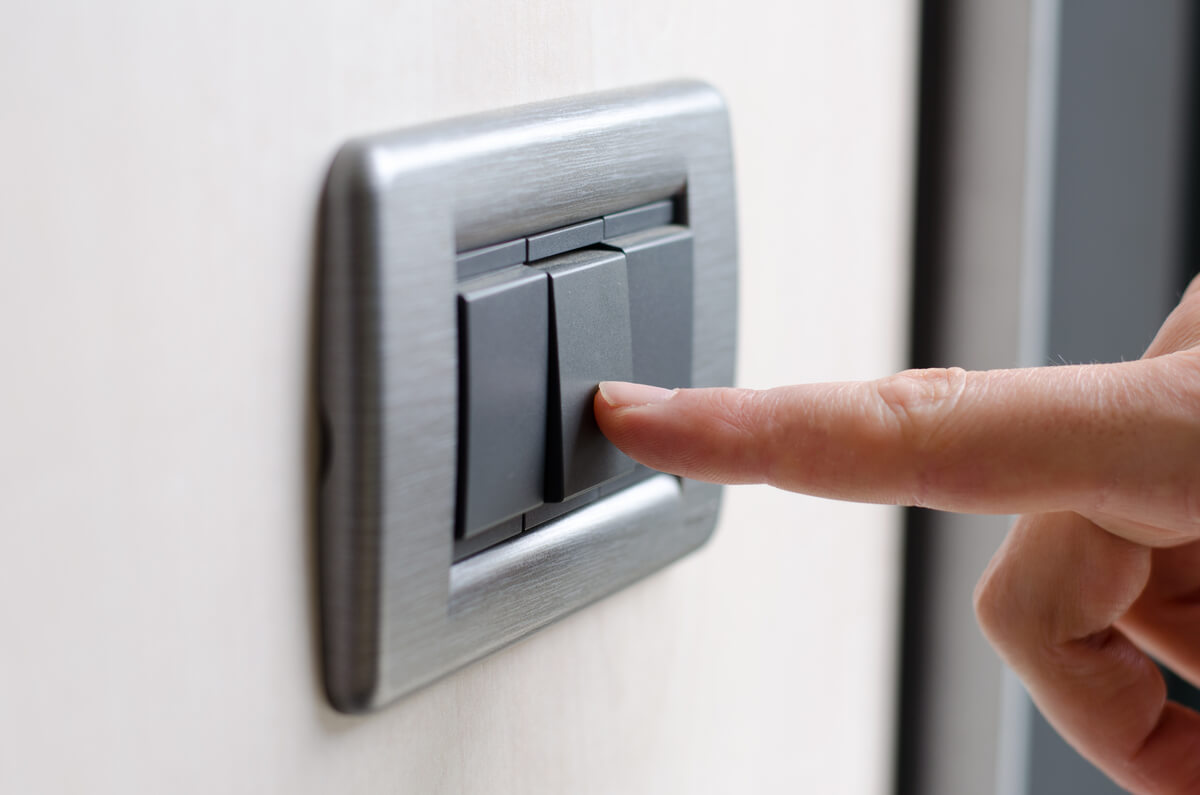
Remove Outlet and Light Switch Covers
Many homeowners are tempted to simply paint around the outlet and light switch plates, but removing them before you paint will help you get professional results. Paint can also cause the plates to stick to the wall, which could create a problem if you need to remove the plates in the future.
Place the screws and covers into a small bag so that you don’t lose track of them. If there are multiple sizes of screws or plates, place each set in a separate bag to avoid mixing them up. Make sure the paint is fully dry before you reinstall the outlet and light switch covers.
Prep the Walls
Paint won’t adhere evenly to dusty or dirty walls. Although it can be a time-consuming step, washing the walls before you paint will greatly improve the final results. If you’re painting the kitchen, use a degreasing cleaner to remove any grease splatters.
Now is also the time to fill in any holes in the walls. Use a utility knife to fill in cracks and chips with spackle. After it dries, use sandpaper to smooth the wall down.
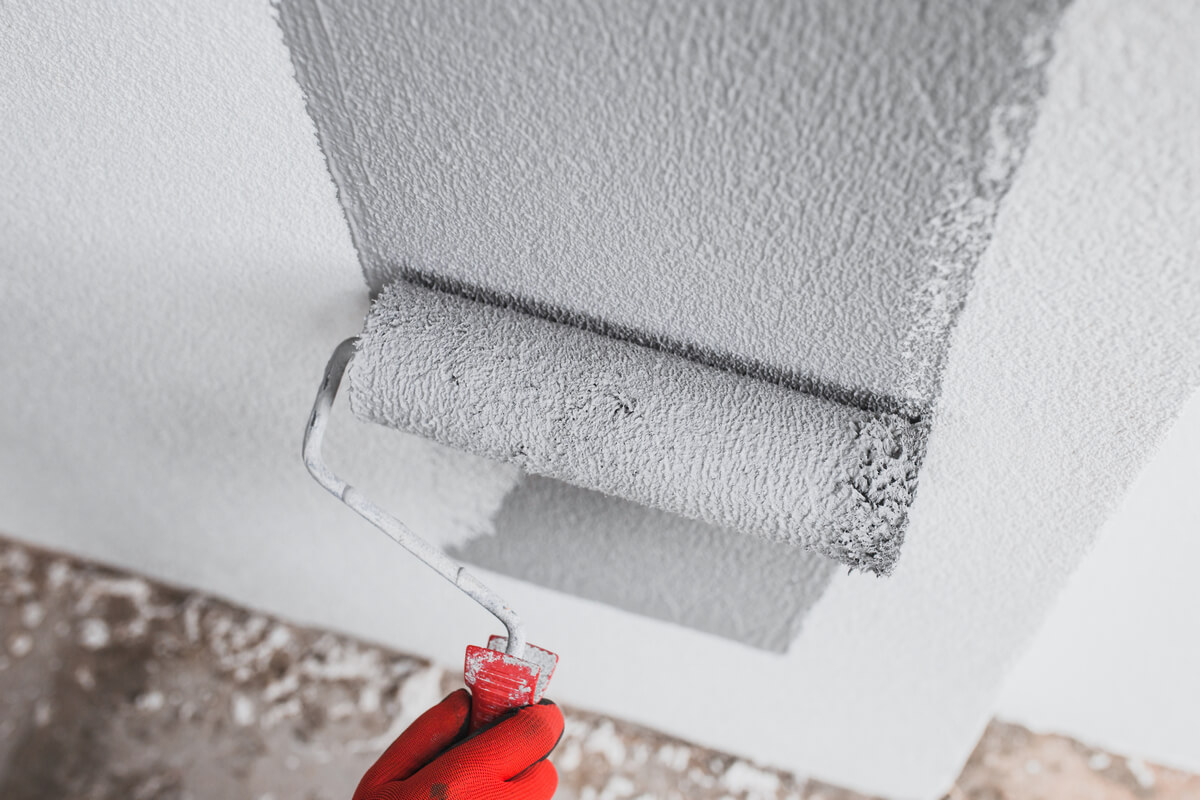
Start With the Edges
It’s best to start along the ceilings and floors when painting a room. You’ll use a paintbrush instead of a foam roller when painting the edges. If you paint the edges first, you can conceal the brush marks as you use the roller on the entire wall. Apply painter’s tape along the ceiling, baseboards, window frames, and other moldings. Then, carefully paint along the top and bottom edges of the walls and around any other fixtures. An angled brush can be very helpful for painting edges.
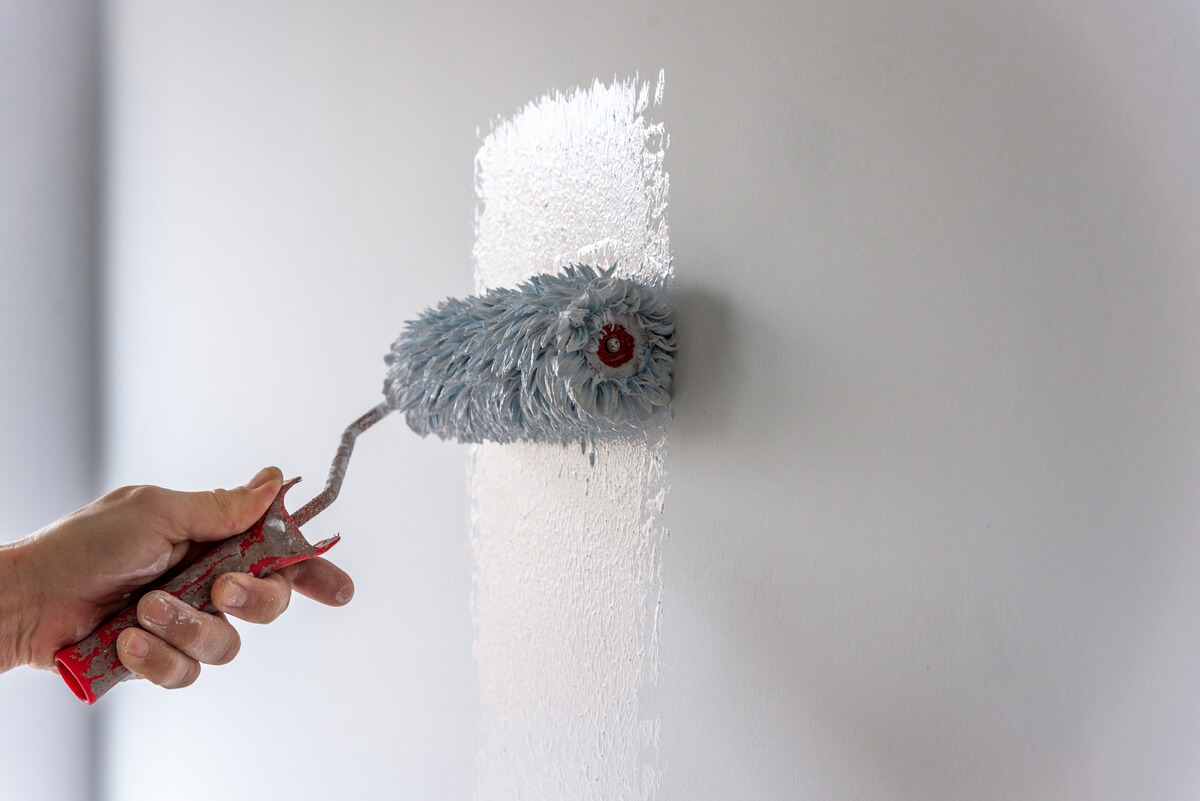
Paint the Full Surface
After covering all the edges, you can paint the rest of the surface. Try to paint the wall as soon as possible after painting the edges so that the coat is perfectly even. As you paint, make overlapping W’s with the roller to reduce the appearance of roller marks. You shouldn’t have to use too much pressure when painting. If you have quality rollers, the paint should coat the wall evenly with minimal pressure.
Paint from top to bottom so that you can catch any drips as you move down the wall. In most cases, a second coat is needed to make the color as vibrant as possible and to make the paint job more durable.
Painting is a great way to upgrade your home and increase its appeal to prospective buyers. If you’re willing to put in the time and effort, you can achieve professional results all on your own. By using quality materials, taking your time, and prepping thoroughly before painting, you’ll end up with a perfectly painted room.